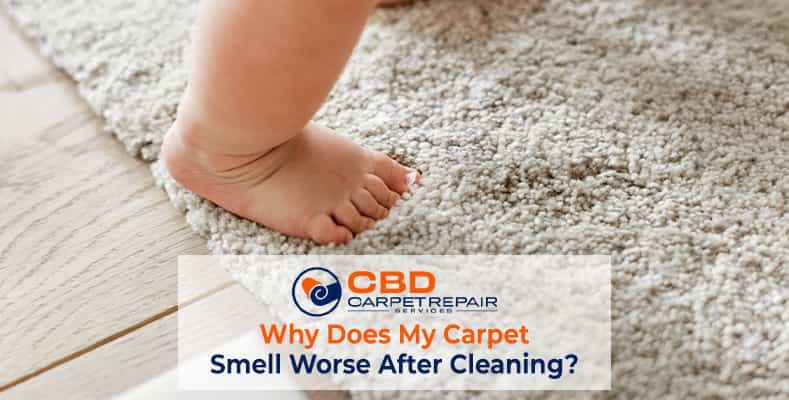
Carpet cleaning is a regular chore for most households, and it’s vital for maintaining a clean and healthy environment. Clean carpets not only promote hygiene but also extend the lifespan of your carpets. However, many people have a common complaint after cleaning their carpets: they end up with a foul smell. If you’ve ever wondered why your carpets smell worse after cleaning, you’re not alone. Dealing with smelly carpets after putting in time and money to clean them can be frustrating. There are several reasons behind this issue, and this guide will help you understand what might have gone wrong during the carpet cleaning process. We’ll also provide tips on how to eliminate those unpleasant odours from your carpets.
Why does my carpet smell worse after cleaning?
Factors that cause carpet smells even after cleaning
- Over-wetting of the carpets
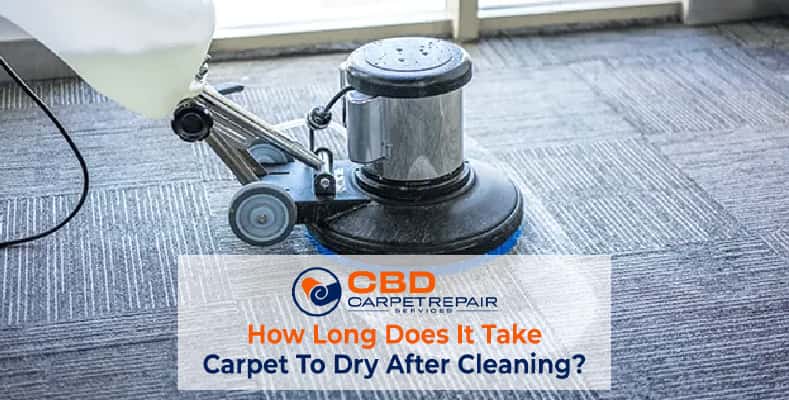
We often make the mistake of over-wetting the carpets while cleaning. Usually, professional cleaners use methods like the hot water extraction method and the dry cleaning method. As they are experienced, they will not make the mistake of over-wetting. But we end up using more water and cleaning agents than required. Therefore, too much moisture causes the carpets to smell. It leads to issues like mould growth, damaged fibres and loose carpet padding. Hence, it gives off a musky scent in the end.
- Drying problem
Carpet cleaning is a regular chore for most households, and it’s vital for maintaining a clean and healthy environment. Clean carpets not only promote hygiene but also extend the lifespan of your carpets. However, many people have a common complaint after cleaning their carpets: they end up with a foul smell. If you’ve ever wondered why your carpets smell worse after cleaning, you’re not alone. Dealing with smelly carpets after putting in time and money to clean them can be frustrating. There are several reasons behind this issue, and this guide will help you understand what might have gone wrong during the carpet cleaning process. We’ll also provide tips on how to eliminate those unpleasant odours from your carpets.
- Leaky water pipes at homes
Plumbing problems can also cause smelly carpets. Any water damage can cause mould growth on the flooring. Hence, if you suspect carpet smell then this is a major factor. Importantly, take this step to always check for any signs of leakage at home. Check the grip rods, skirting boards, walls and floorings for mould. And moisture-filled carpets are a threat to human health. As they can cause allergic reactions and asthma. Therefore, treat smelly carpets immediately, especially in the case of moulds. And fix the underlay of the carpets as soon as possible.
- Old untreated stains
Another reason is old and untreated stains on the carpet. Stains like food spills, dairy products, dirt and others seep inside the carpet paddings. And when we clean the carpets, these stains come in contact with the water. Therefore, strong odours will be released which are hard to get rid of. It is always advised to not have any underlying stains on your carpets. Because once they are dry and set, it is almost impossible to get rid of them. Also, no amount of deep cleaning will get rid of the stain or the odour. You can contact a professional to treat the stains first in such cases. Then proceed with any carpet cleaning process.
- Pet urine and stains
Pet urine is a large factor in bad odours in carpets. It is another reason why my carpet smells after cleaning? Firstly, pet urine easily seeps inside the carpets. The urine contains ammonia and urochrome which is the cause of the smell. This should be cleaned immediately. Or else the stains will linger around for a long time and will be impossible to clean. Also, pet urine requires extra cleaning and attention. Just normal water will not remove the stain. Therefore, treat any pet urine or stain immediately.
- Not enough ventilation in your home
Adequate ventilation is essential in any room or property. Proper airflow helps prevent odour molecules from lingering indoors. When we clean carpets, the odours from stains can persist if there isn’t sufficient ventilation. This is because the carpets may not dry properly after cleaning. So, if your home lacks proper ventilation, you may experience unusual odours even after cleaning your carpets.
- Wrong cleaning products
The carpet cleaning process should be done carefully. You should be aware of the cleaning products used. They should not be harsh on the carpet fibres. Carpets are of different types. For example, wool carpets, velvet carpets and synthetic carpets. Each of them requires a different type of cleaner. Hence, using the wrong kind of product can cause extensive damage to the carpets. Firstly, wrong products will leave behind a sticky residue after cleaning. Furthermore, this will attract more dust and debris. Hence, causing the carpets to smell worse than before. This is one of the reasons why my carpet smells worse after cleaning.
To Conclude
Here are the reasons stated for your question about why my carpet smells worse after cleaning. If you take care of these causes, it will be easy to get rid of the smell. And soon you will be able to have fresh-smelling carpets after the cleaning process. Make sure to use a sanitiser and deodoriser after every cleaning session. You can also hire our local experts for same-day carpet seam repair and carpet stretching in Melbourne.